Simple Artpaper Shelves Add On
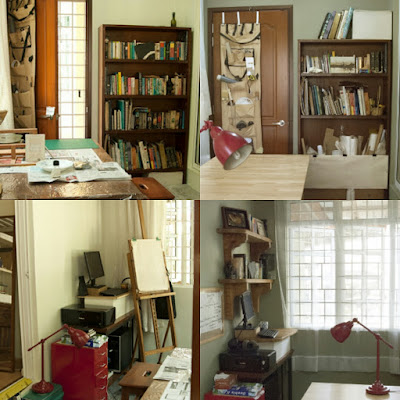
With new changes going on at home, I took the opportunity with all the upheaval to give a fresh coat of paint and redesign both my studio and bedroom!
I also found myself without a studio table or a place to store my artpapers flat.. Fortunately with the help of the world wide web I was able to find a really great almost new second hand Ikea Norden extendable solid wood table.
All that was needed now was a place to store them artpapers.
Thus my novice carpenter skills were once again pulled out and brushed off for these Really Simple Artpaper Shelves added on to the new table ! Having them be part of my studio table would not only make them super convenient but save oodles of space!
| Ok they may not look that impressive but they do the job. Sherlock ever ready for some loving distraction. |
I shan't be going though the WIP with as much detail as usual but it was a pretty simple process, so hopefully you can get quite a clear idea anyways..
1. Decided to use some Ikea solid beech wood we had left over from our kitchen renovations for the shelves, as it matched the new Norden table perfectly. It was Super Hard wood though, but thanks to the lads at kerjakayu.my, their powersaw cut it in to planks in a jiffy!.. :)
 |
| My impossible first attempt at using a hand saw for the task.. Thank goodness for kerjakayu.my |
Two planks were cut about 5.8 inches high, enough for two shelves of about 2 inches high each.
2. Now the only hard part, carving the end joints to fit the table legs.
 |
 |
| It took me a full 2 days to carve all the joints of this hard wood, but depending on your physical strength or how soft/hard the wood is, you could probably do this with much less time and effort. |
3. 90 degree metal right angle brackets were then screwed in on the inside to support the plywood I would be inserting as shelves later.
4. All that was left was to drill/screw in the shelf sides that had been carved to fit on to the tables legs.
| Before: The table was assembled halfway for easy drilling, before adding the sides of the shelves. |
| After: The shelf sides have been screwed in, the table is now ready to be assembled fully, turned over and then the plywood shelves slide in!.. |
5. Plywood was cut to size and just slide in over the 90 degree brackets.. The plywood does bow a little in the middle under the weight of all my artpapers, but it's still sturdy enough..
Just love how the Ikea beech wood blends perfectly with the rest of the table.
Hopefully this helps you create your own undoubtedly better set of shelves for your artpapers!..
Thanks for dropping by!.. :)





Comments
Post a Comment